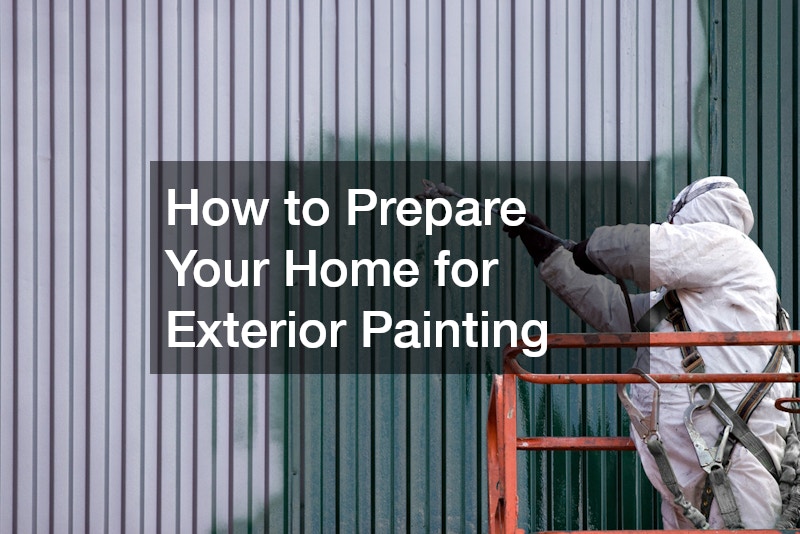
A fresh coat of paint can completely transform the look of your home, boosting its street appeal and protecting it from the elements. But before the brush meets the wall, careful preparation is essential to ensure a long-lasting and professional finish. Whether you’re doing it yourself or hiring a professional, knowing how to prepare your home for exterior painting can make all the difference.
1. Inspect the Exterior Surfaces
Start by conducting a thorough inspection of your home’s exterior. Look for signs of damage such as cracks, rotting timber, mould or peeling paint.
These issues must be addressed before painting begins. Painting over damaged areas won’t just look unsightly; it can also cause premature paint failure.
Check gutters, fascias and downpipes too, as they often collect dirt and show signs of wear. Ensuring all surfaces are in good condition will make the painting process smoother and more effective.
2. Clean the Surface Properly
Dirt, dust, cobwebs and mildew can prevent paint from adhering properly. That’s why a deep clean is a non-negotiable step in the preparation process. For most homes, pressure washing is an efficient way to remove surface grime. Be sure to use the correct pressure setting to avoid damaging the substrate.
If mildew is present, a mould and mildew cleaner should be applied. Allow the surface to dry completely after washing—this may take a couple of days, depending on the weather conditions.
3. Repair and Patch Up Damages
Once your exterior is clean and dry, it’s time to address any structural imperfections. Fill any holes, gaps or cracks using an exterior-grade filler. Sand the filled areas smooth once they’re dry. This not only improves the appearance of the finished job but also ensures an even paint application.
If you’re dealing with timber surfaces, check for rot and replace any sections that are beyond repair. Treat any bare wood with a primer to protect it from moisture and promote adhesion.
4. Scrape and Sand Old Paint
Removing loose or flaking paint is a critical step in preparing for exterior painting. Use a paint scraper or wire brush to remove any peeling sections. Once the loose paint has been scraped off, sand the area to smooth the edges between the painted and bare surfaces.
In some cases, you might need to sand entire sections of the house, especially if the previous paint job is glossy or uneven. Always wear a dust mask and goggles to protect yourself during sanding.
5. Protect Windows, Doors and Landscaping
Painting a house exterior can get messy. Protect surrounding areas by covering windows, doors and light fixtures with plastic sheeting or painter’s tape. Lay drop cloths or tarps over plants, outdoor furniture and walkways to shield them from paint splatters.
This is also the time to trim back bushes, trees or any other foliage that’s close to your home. Clear access to all surfaces will make painting easier and more efficient.
6. Choose the Right Paint and Tools
The quality of your paint and tools will directly influence the result of your exterior painting project. Choose a high-quality exterior paint designed for your home’s material—whether it’s timber, brick or fibre cement.
Australian weather can be harsh, so opt for UV-resistant and weatherproof formulations. Also, invest in quality brushes, rollers and sprayers. These tools apply paint more evenly and reduce drips or streaks.
7. Prime the Surfaces
Priming is often overlooked, but it plays a vital role in ensuring the longevity and durability of your paintwork. Apply primer to all bare wood, metal and repaired surfaces before painting. For darker colours or surfaces with stains, a tinted primer can help achieve better coverage and colour accuracy.
If you’re dramatically changing the colour of your home, a primer can also help you achieve the true tone of your topcoat.
8. Plan Around the Weather
Timing is everything when it comes to exterior painting. Avoid painting during rainy or extremely hot days, as these conditions can impact paint drying and adhesion. The ideal time for exterior painting in Australia is during mild, dry weather—usually spring or early autumn.
Always check the forecast for a clear window of at least three to four days. This ensures that each coat has adequate time to cure without being affected by rain, humidity or intense sun.
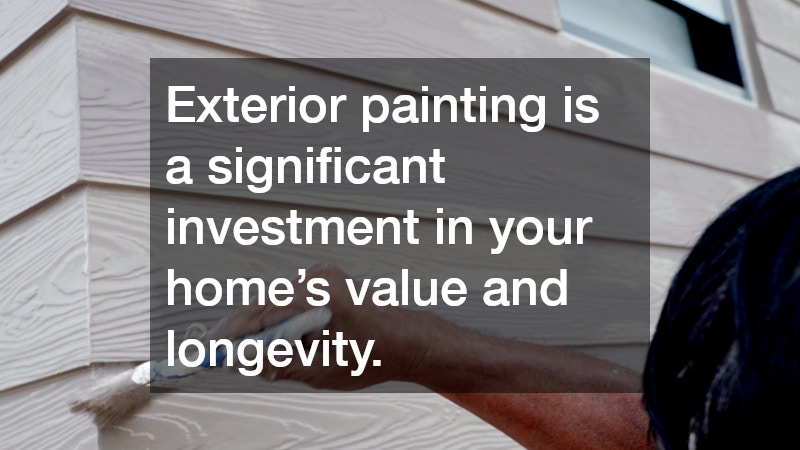
A Lasting Finish Starts with Proper Preparation
Exterior painting is a significant investment in your home’s value and longevity. With proper preparation—from cleaning and repairs to priming and protecting—you can ensure a professional-quality finish that stands the test of time. Whether you’re tackling the job yourself or bringing in a pro, following these steps will set your project up for success.
.